
|
|
Bruce Pearson An Artist in the Natural World
Relief Printmaking |
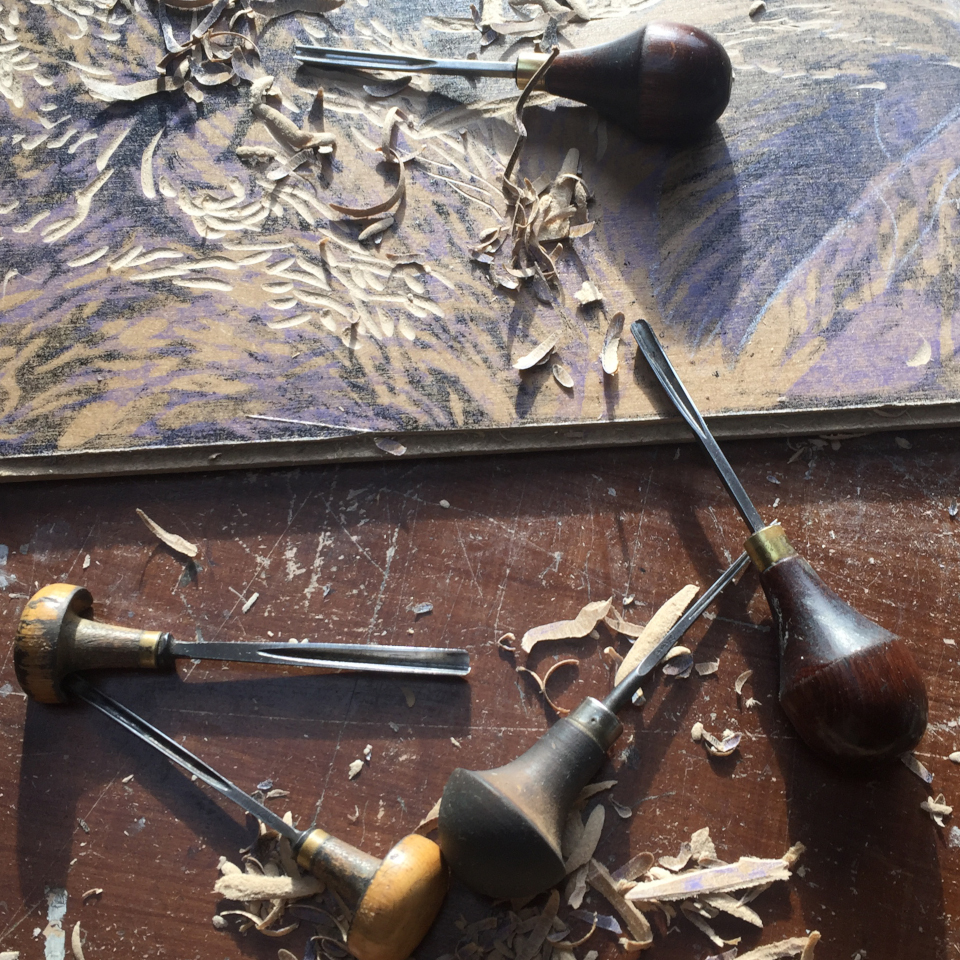
The relief family of printmaking techniques involves cutting and carving a flat surface to remove areas not wanted to be printed. The cutting tools have a variety of forms - straight and rounded edge, double-pointed, bladed like a chisel, or V-shaped - and their use combines to leave a raised 'relief' image.
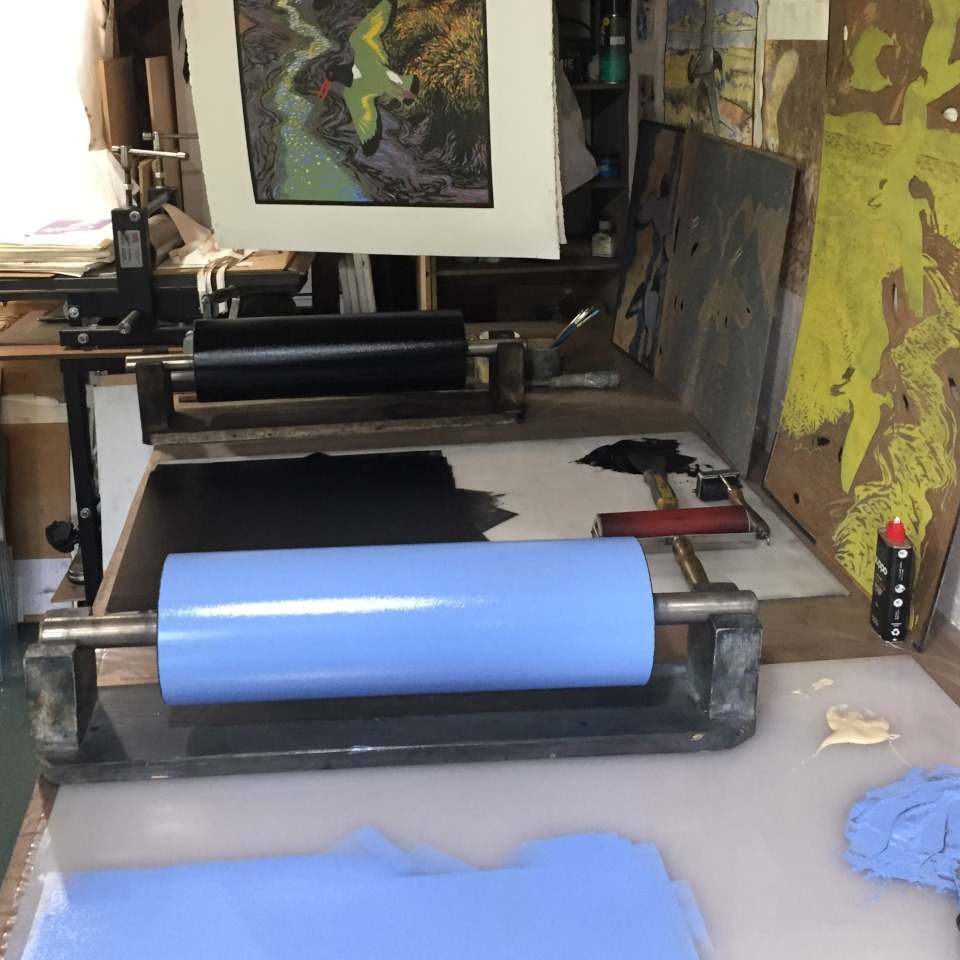
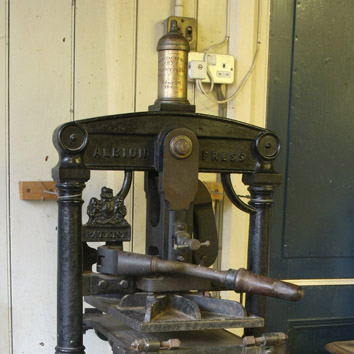
When ink is rolled across the surface of the relief block, and the block then pressed on to paper, only the inked areas will leave an image on the paper. A printing press may not be needed, as the back of the paper can be rubbed or pressed by hand with a simple tool such as a brayer or roller. A number of blocks, each cut seperately and inked with a different colour, can be overlaid on each other to create a more complex image.
Traditional relief printmaking methods uses either wood or linoleum as the flat surface, but various soft plastics and vinyls are sometimes used. For a while I tried working with MDF but although the cutting was fairly easy, the dust and softness of the cut away areas complicated the printing stages. These days I often use Foamalux which has a smooth flat semi-matt surface that cuts easily, takes ink superbly, is relatively very cheap (compared to linoleum) and is available in bulk via mail order.
|
|
© 2024 Bruce Pearson. All rights reserved.
, 48cm x 62cm")
 64cm x 42cm")
, 60cm x 40cm")